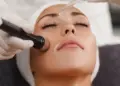
 There’s no better feeling than the post-facial glow, but booking a professional treatment can be expensive and time-consuming. The good news is that you can achieve similar, beautiful results from the comfort of your own home with the right products and techniques. An at-home facial is more than just a quick cleanse; it’s a multi-step ritual that deeply nourishes your skin, addresses specific concerns, and provides a moment of self-care. This guide will walk you through every step of a professional-level facial, empowering you to unlock your skin’s full potential and maintain a radiant, healthy complexion.
Step 1: The Foundation – Double Cleansing
A successful facial starts with a perfectly clean canvas. Double cleansing is a non-negotiable step that ensures all dirt, makeup, and oil are completely removed from your skin.
A. First Cleanse: Oil-Based
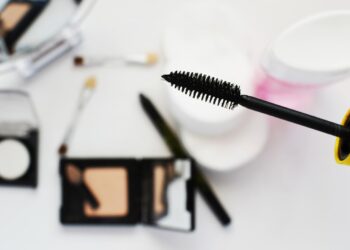
- Purpose: The first cleanse is designed to break down oil-based impurities. These include makeup (especially waterproof mascara), sunscreen, and excess sebum.
- How to Do It: Apply an oil cleanser or a cleansing balm to your dry face. Gently massage it into your skin for at least 60 seconds, paying attention to areas with heavy makeup. The oil will emulsify as you massage, dissolving all the gunk without stripping your skin.
- Pro-Tip: Don’t rinse with hot water, as it can be too harsh. Use lukewarm water to rinse the oil away.
B. Second Cleanse: Water-Based
- Purpose: The second cleanse removes any leftover residue from the first cleanse, along with water-based impurities like sweat and dirt.
- How to Do It: Use a gentle, water-based cleanser (gel, cream, or foam) and massage it into your damp skin for another 60 seconds. This step ensures your pores are completely clean, preparing them for the next treatments.
Step 2: Exfoliation – The Key to Radiance
Exfoliation removes the buildup of dead skin cells that can make your skin look dull and uneven. This step reveals the fresh, glowing skin underneath and helps your other products penetrate more effectively.
A. Chemical Exfoliants
- AHAs (Alpha Hydroxy Acids): These acids (like glycolic and lactic acid) work on the surface of your skin to dissolve the bonds between dead skin cells. They are great for brightening and improving skin texture.
- BHAs (Beta Hydroxy Acids): Salicylic acid is a BHA that is oil-soluble, meaning it can penetrate deep into your pores to dissolve excess oil and clear out blackheads. It’s a lifesaver for acne-prone skin.
B. Physical Exfoliants
- Gommage Exfoliants: These are gentle, cream-based exfoliants that ball up on your skin as you massage them. They physically lift away dead skin cells without the harshness of scrubs.
- Enzyme Exfoliants: These use fruit enzymes (from papaya or pineapple, for example) to gently “eat away” at dead skin cells without any scrubbing. They are perfect for sensitive skin.
- How to Do It: Apply your chosen exfoliant and follow the instructions on the package. For chemical exfoliants, leave them on for the recommended time before rinsing. For physical exfoliants, use a light, circular motion to avoid irritation.
Step 3: Steaming – Open Up Your Pores
Steaming is a spa staple that helps to soften your skin and open up your pores, making it easier for them to be cleansed and for subsequent products to be absorbed.
- How to Do It: Bring a pot of water to a boil and carefully pour it into a large bowl. Add a few drops of essential oil (like tea tree for blemish-prone skin or lavender for relaxation). Drape a towel over your head and lean over the bowl, keeping your face a safe distance (about 12 inches) from the water. Steam for 5-10 minutes.
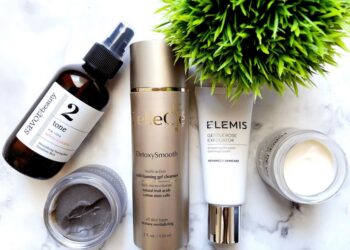
Step 4: The Targeted Treatment – Serums and Masks
This is where you address your specific skin concerns. Whether you want to hydrate, brighten, or calm your skin, a targeted treatment is essential.
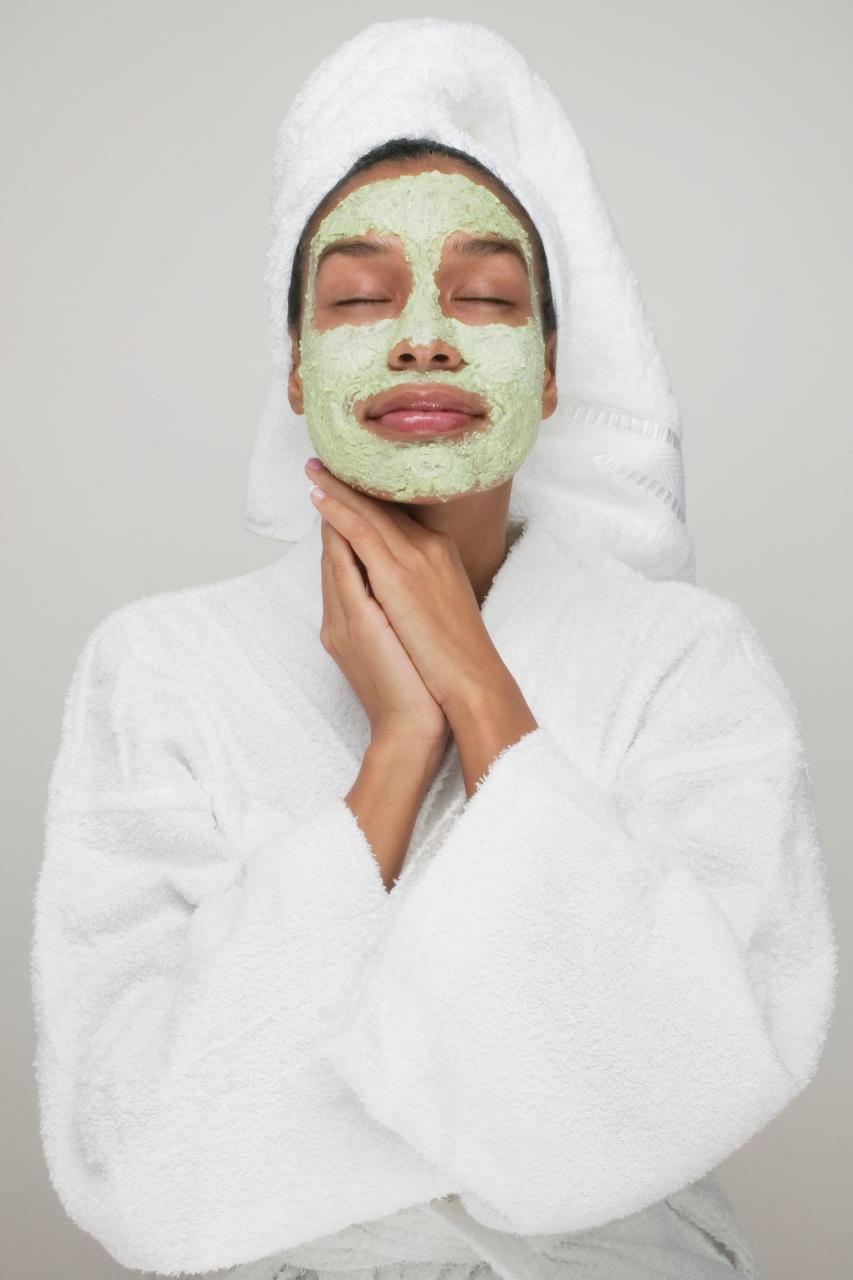
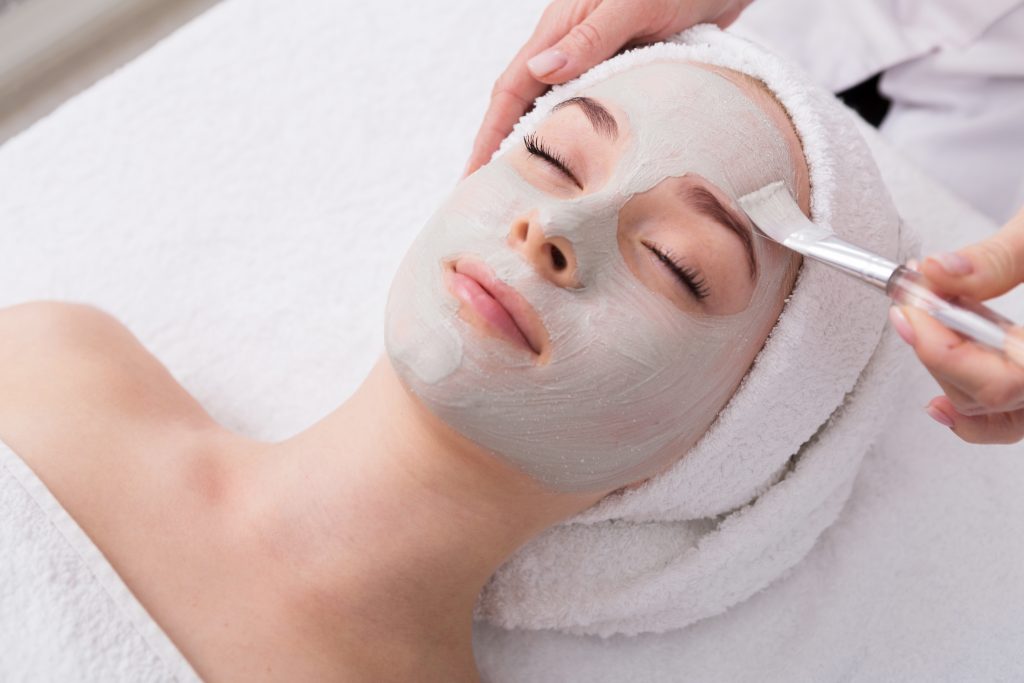
A. Applying a Mask
Choose a mask based on your skin’s needs.
- Clay or Charcoal Mask: Great for oily or acne-prone skin, as it draws out impurities and excess oil.
- Hydrating Mask: For dry or dehydrated skin, a sheet mask or a cream mask with hyaluronic acid or glycerin will provide a surge of moisture.
- Brightening Mask: Masks with Vitamin C or other antioxidants can help fade dark spots and even out your skin tone.
- How to Do It: Apply an even layer of the mask to your face, avoiding the eye area. Let it sit for the recommended time (usually 10-20 minutes). This is a great time to relax and de-stress.
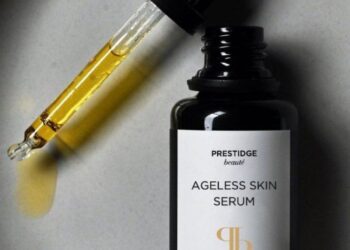
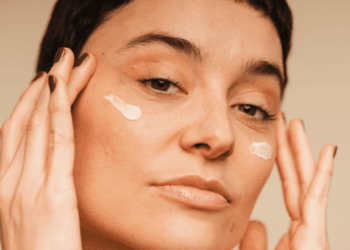
B. Layering Your Serums
After rinsing off the mask, your skin is primed to absorb serums. Apply them from thinnest to thickest consistency.
- Hyaluronic Acid: This goes on first, as it’s typically a thin, watery serum that locks in moisture.
- Vitamin C: Apply your Vitamin C serum to brighten and protect your skin.
- Niacinamide or Other Actives: Follow with any other treatment serums you use to address specific concerns.
Step 5: Hydration and Protection – The Final Seal
The final steps are crucial for locking in all the benefits of your facial and protecting your skin.
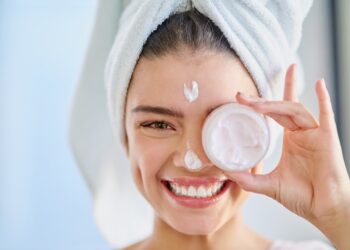
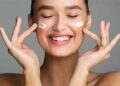
A. Moisturizing
Apply a generous amount of your favorite moisturizer to seal in all the serums and prevent moisture loss. Choose a formula that suits your skin type—a lightweight gel for oily skin or a rich cream for dry skin.
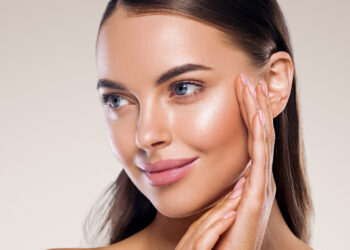
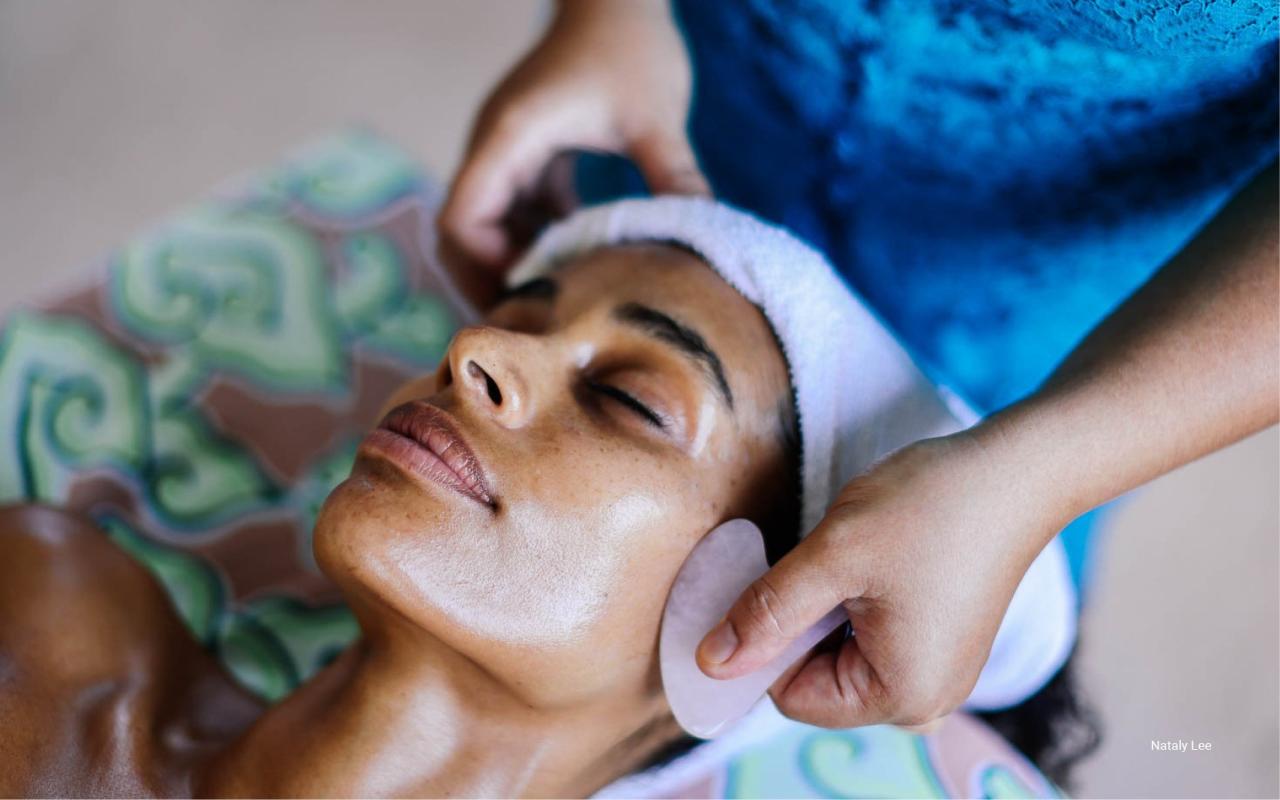
B. Facial Massage
Use a facial roller, Gua Sha stone, or your hands to gently massage your face as you apply moisturizer. This helps to improve blood circulation, reduce puffiness, and enhance the absorption of your products.
C. The Sunscreen Seal
If you’re doing your facial during the day, this is the most important step. Apply a broad-spectrum sunscreen with an SPF of 30 or higher to protect your newly refreshed skin from UV damage.
By following this comprehensive at-home facial guide, you can give your skin the love and attention it deserves, leaving you with a radiant, healthy, and happy complexion every time.