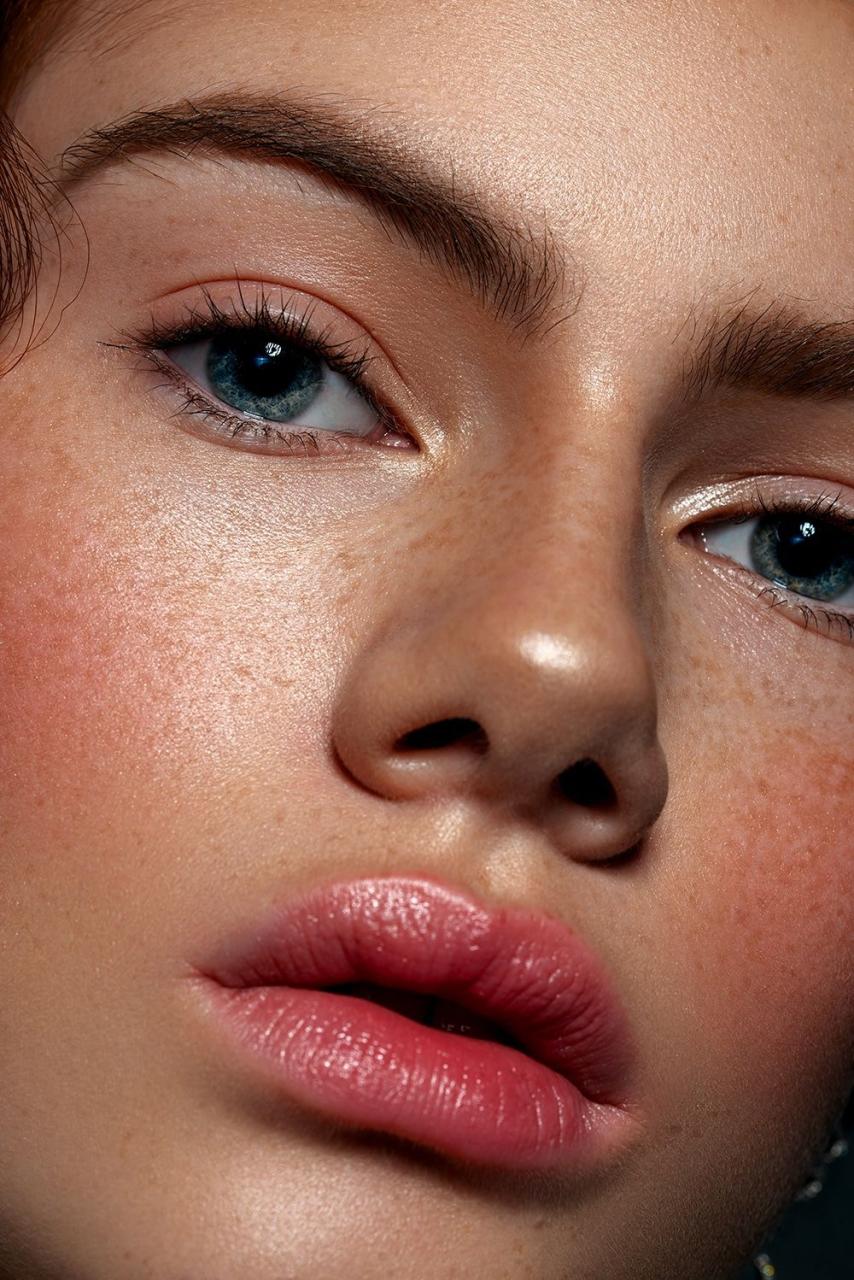
Tantouring—a portmanteau of tanning and contouring—is the revolutionary beauty technique that promises a sculpted, sun-kissed look that lasts for days, often eliminating the need for daily makeup application. Forget the fear of your expertly blended contour melting away by noon; tantouring uses self-tanner to create semi-permanent shadows on your face and body, giving you effortless definition from the moment you wake up. This long-lasting effect not only saves precious time in your morning routine but also offers a natural-looking glow that regular makeup can sometimes struggle to achieve.
If you’re looking to enhance your bone structure, create the illusion of a slimmer face, or simply maintain a natural, bronzed look without the harmful effects of UV exposure, tantouring is your ticket. It’s a game-changer for those who prefer a “no-makeup makeup” look or want to look defined and radiant while swimming, exercising, or traveling. While traditional contouring can be a fleeting masterpiece, tantouring provides a lasting canvas.
The Tantouring Phenomenon: Why It’s a Must-Try
The core difference between traditional contouring and tantouring lies in the product’s longevity and composition.
Contouring vs. Tantouring
- Traditional Contouring: Uses makeup products (powders, creams, or liquids) in cool or neutral tones, typically two to three shades darker than your base, to create shadows and define features. It’s temporary, washes off with cleanser, and requires daily reapplication. It offers high precision but lacks staying power.
- Tantouring: Utilizes self-tanning products, usually a darker shade, applied strategically to the areas you would normally contour. The active ingredient, DHA (dihydroxyacetone), reacts with the amino acids in the top layer of your skin, temporarily staining it to create a defined shadow. The result is a long-lasting sculpt that can endure for three to seven days, depending on your product and skincare routine.
The major draw of tantouring is the lasting dimension. It’s the perfect solution for achieving that coveted, natural-looking definition that doesn’t fade, smudge, or require touch-ups throughout the day. It’s also an excellent way to balance a self-tanned body with a typically paler face, ensuring a seamless, all-over glow.
Essential Supplies for a Flawless Tantour
Success in tantouring heavily relies on the right tools and products. Don’t skimp on quality here; a patchy tan is much harder to correct than a heavy-handed makeup contour.
Selecting Your Self-Tanner
When choosing a product for tantouring, look for a formula that is specifically designed for the face or is gentle enough for facial use.
- Tanning Drops/Serums: These are highly popular as they are customizable. You mix a few drops with your regular moisturizer or serum, allowing you to control the intensity and ensuring a more gradual, even fade.
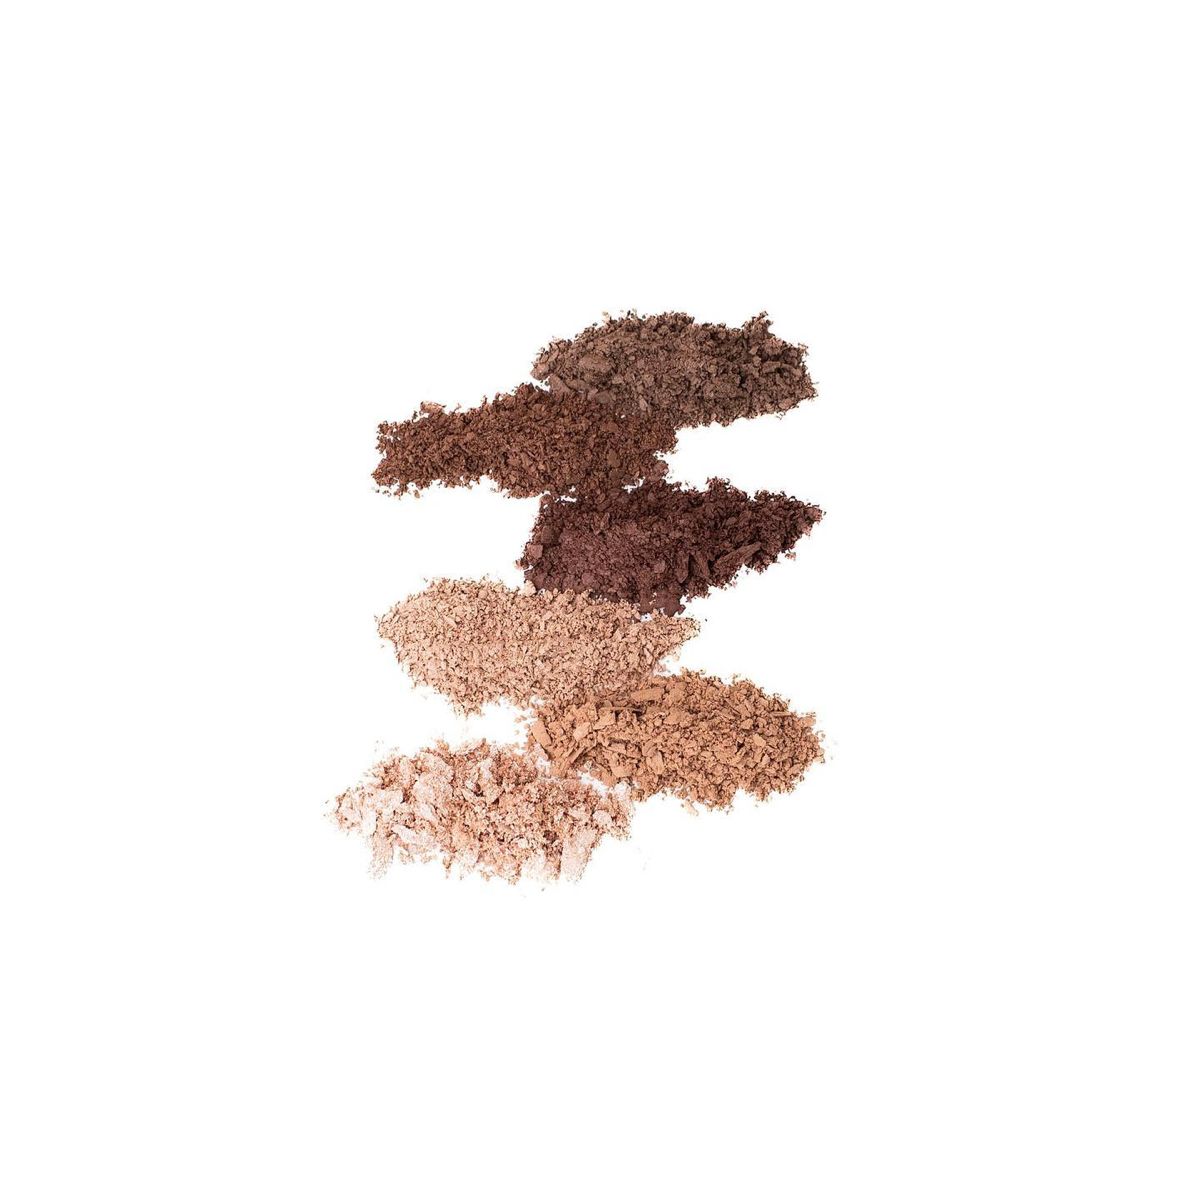
- Tanning Foams/Mousses with Guide Color: A product with a guide color (a temporary tint) is invaluable, especially for beginners, as it allows you to see exactly where you are applying the product, minimizing streaks and errors. Opt for one that is 2-4 shades darker than your natural skin tone or your base tan.
- Color Tone: Choose a self-tanner with a cool or neutral undertone, similar to a contour shade, to truly mimic a natural shadow. Avoid overly orange or warm-toned bronzers, as they can look less natural.
Choosing the Right Tools
The right applicator is key to precision and blending. Avoid large tanning mitts.
- A. Dense Angled Contour Brush: Ideal for placing and blending the product precisely under the cheekbones, jawline, and temples. A dense head allows for better product pickup and seamless buffing.
- B. Small Blending Brush: A fluffy eyeshadow blending brush is perfect for more intricate areas like the sides and tip of the nose, or around the lips.
- C. Beauty Blender or Makeup Sponge: Excellent for blending out any harsh lines or softening edges, ensuring the tantour looks like a diffused shadow rather than a stripe.
- D. Exfoliating Mitt/Glove: Essential for prepping the skin and for safely removing any mistakes or patches after the tan has developed.
Step-by-Step Guide to Tantouring Your Face
Achieving a perfect, believable tantour requires careful preparation and methodical application. Remember, it’s always easier to add more product than to take it away!
Phase 1: Preparation is Paramount
The longevity and evenness of your tantour depend entirely on your prep work.
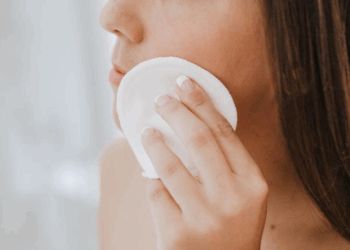
A. Cleanse and Exfoliate Thoroughly: Start with a completely clean and exfoliated face. Any residual makeup, oil, or dead skin cells will cause the tan to cling unevenly, resulting in patches. Use a gentle cleanser and a mild exfoliator 24 hours before your application.
B. Moisturize Strategically (But Not Immediately): Ensure your skin is well-hydrated in the days leading up to tantouring. However, avoid applying moisturizer immediately before the self-tanner, as it can create a barrier and prevent the DHA from developing properly. You can apply a very thin layer of an oil-free moisturizer only to extra dry patches (like around the nostrils or dry patches on your forehead) to prevent over-absorption of the tan.
C. Apply a Base Tan (Optional but Recommended): For a more seamless blend, consider applying a light layer of gradual tanner or just a few drops mixed with moisturizer to your entire face first. This provides a warm base glow, making the subsequent contour lines blend more naturally. Let this dry completely.
Phase 2: Precision Application and Placement
This is where the artistry happens. Work in a well-lit area, preferably with natural light, so you can see your placement clearly.
A. Cheekbones: Using your dense angled brush, apply the self-tanner to the hollows of your cheeks. Find the natural shadow beneath your cheekbone (suck your cheeks in to locate the line). Start near the top of your ear and sweep the product forward, stopping just before the iris of your eye. Use light, sweeping motions and focus on building the color gradually.
B. Forehead and Temples: To create the illusion of a smaller forehead or a sun-kissed perimeter, lightly sweep the product along your hairline and down the temples. Be cautious not to go too far down the sides of your face.
C. Jawline and Neck: Apply the tanner directly under your jawbone, starting from the ear and sweeping it down to the center of your chin. This creates a defined, sharp jawline. Blend the excess down onto your neck to avoid a harsh line of demarcation.
D. Nose Contour (Advanced): For a slimmer nose, use the small blending brush. Draw two thin, straight lines down the sides of your nose, starting from the inner corner of your eyebrows. Apply a small amount across the tip of the nose for a lifting effect. Use a clean, fluffy brush to immediately blend these lines for a soft, natural shadow.
Phase 3: The Blending and Waiting Game
Blending is non-negotiable for a natural finish.
A. Buff and Blend: Immediately after applying the product to each section, use a clean blending brush or makeup sponge to soften all the edges. Work quickly, as self-tanners can set fast. The goal is to diffuse the lines so there are no visible harsh streaks, only a smooth gradient that mimics a shadow.
B. Let it Dry: Allow the tantour to dry completely before touching your face, going to sleep, or allowing it to come into contact with water. This typically takes 10 to 30 minutes.
C. Wait for Development: Follow the instructions on your self-tanner for the recommended development time—usually 6 to 8 hours, though some quick-formulas are 2 to 4 hours. Do not apply makeup or rub your face during this period.
D. Rinse Gently: Once the development time is up, gently rinse your face with lukewarm water and a mild cleanser to wash off the guide color. Pat your face dry.
Elevating Your Body Tantouring
The tantouring technique isn’t limited to the face; it’s a brilliant way to define and sculpt the body, which is a major traffic driver for search engines looking for holistic beauty hacks.
Strategic Body Placement
Applying tan strategically to the body can enhance muscle definition and create the appearance of a more toned physique.
A. Collarbones: Apply a thin line of tanner just under the prominent part of your collarbones and blend downwards to emphasize their shape.
B. Shoulders and Arms: Sweep the tanner just beneath the deltoid muscle (shoulder cap) and down the sides of the biceps and triceps to create the illusion of definition.
C. Waist and Abs: To define the waist, apply the tan along the sides of your torso, following the natural curve from under the ribs to the hips. For the abdomen, lightly apply the tanner to the natural indents and lines where abdominal muscles would cast a shadow.
D. Legs: To make legs appear longer and leaner, apply a thin strip of tan down the inner thighs and down the sides of the calves. Keep the center of the shin and thigh lighter for a highlighting effect.
Always use a large, fluffy brush or a clean tanning mitt to buff and blend body tantour areas, ensuring a diffused, airbrushed finish.
Troubleshooting and Maintenance
Even experts face occasional issues. Knowing how to fix mistakes and extend the life of your tantour is crucial.
Common Tantouring Errors and Fixes
A. Streaks and Harsh Lines: If you notice a line that didn’t blend well, immediately use a cotton swab dipped in micellar water or a specialized tan remover to correct it while the tan is still developing. If the tan has already developed, gently use a tan remover mousse or an exfoliating scrub on the patchy area.
B. Too Dark or Orange: If the color is too intense, gently exfoliate with a mild scrub or use a small amount of lemon juice mixed with baking soda as a natural, gentle lightening agent on the affected areas.
C. Patchy Fade: Tan tends to fade faster on the face due to daily cleansing. To ensure an even fade, lightly exfoliate your face every 2-3 days, or use a daily face wash that contains a mild AHA/BHA.
Extending the Life of Your Tantour
The face tan typically lasts 3–5 days. To maximize its longevity:
A. Gentle Cleansing: Switch to a non-stripping, sulfate-free, and oil-free cleanser. Harsh ingredients can strip the tan away faster.
B. Avoid Acids and Retinoids: Skincare ingredients like alpha-hydroxy acids (AHAs), beta-hydroxy acids (BHAs), and retinoids promote cell turnover, which will cause the tan to slough off quickly. Avoid applying these products directly to the tantoured areas until you are ready to reapply.
C. Moisturize Daily: Keeping your skin hydrated is essential for an even, prolonged fade. Use an oil-free moisturizer twice daily.
D. Spot Reapply: When you notice the definition starting to fade, you can do a quick spot reapplication of the self-tanner to the contoured areas without doing a full base application.
Conclusion
Tantouring is more than just a fleeting TikTok trend; it’s a smart, effective way to integrate long-lasting definition into your beauty routine. By replacing the need for daily makeup contour, you not only save time but also achieve a remarkably natural, healthy glow that withstands the rigors of your day. It empowers you to feel confident and sculpted, even on your bare-faced days. By mastering the preparation, the precise application techniques, and the aftercare outlined here, you can unlock the full potential of this revolutionary technique. Your new, effortless definition awaits!