The quest for a flawless foundation base is the cornerstone of any truly great makeup look. It’s more than just smoothing over imperfections; it’s about creating a harmonious, radiant canvas that enhances your natural beauty. Yet, foundation can be one of the trickiest products to master, often resulting in a patchy, cakey, or mismatched finish. The difference between a skin-like veil and a mask-like disaster often boils down to preparation, the right product selection, and precise technique.
In this comprehensive, in-depth guide—crafted for beginners, enthusiasts, and even seasoned makeup users seeking to perfect their skills—we will explore every aspect of foundation, from the critical steps of skin preparation to advanced application methods and crucial setting techniques. Mastering these pro secrets is your ticket to a stunning complexion every single day.
The Non-Negotiable Pre-Game: Skin Preparation
Before a single drop of foundation touches your face, the canvas must be meticulously prepared. Think of your skin as a wall you are about to paint: you wouldn’t paint over cracked, dirty plaster and expect a smooth result. Foundation is no different. Proper skin preparation is the most overlooked step in achieving a flawless finish and ensuring maximum longevity.
Essential Skincare Steps for a Perfect Base
Your daily skincare routine sets the stage. Never apply foundation to bare, dry, or un-moisturized skin. This can cause the product to cling to dry patches or sink into fine lines, leading to a textured, uneven look.
A. Cleansing and Toning: Start with a gentle cleanser to remove all traces of dirt, oil, and last night’s skincare. Follow up with a balancing toner to restore the skin’s pH level and prep it for moisture absorption.
B. Exfoliation (Weekly): Dead skin cells are the enemy of smooth foundation. Incorporate a gentle chemical or physical exfoliant (1-3 times a week, depending on your skin type) to slough away buildup, promoting a smoother texture for foundation to glide over.
C. Hydration is Key: Apply a hydrating serum (e.g., hyaluronic acid) followed by a moisturizer suited to your skin type. Allow this to absorb fully—at least 5 to 10 minutes—before moving on to primer. Applying foundation too quickly over a wet moisturizer can cause pilling.
D. Sun Protection: Never skip your SPF. Look for lightweight, fast-absorbing formulas that won’t leave a white cast or interfere with your foundation’s wear time.
The Primer Power Play
Primer acts as a crucial barrier between your skin and your foundation, serving multiple functions. While not strictly mandatory, the right primer can dramatically improve the finish, longevity, and overall look of your foundation.
Application Secret: Apply primer thinly and precisely. Focus on your T-zone, where pores and oil are most prominent, or the cheeks, where texture is a concern. Less is always more with primer.
Decoding the Foundation Equation: Shade, Undertone, and Formula
The second critical step is product selection. This is where most people falter, resulting in the dreaded “floating head” look where the face doesn’t match the neck or chest. Choosing the right shade and undertone is paramount, as is selecting a formula that aligns with your specific skin type and desired finish.
Unlocking Your True Undertone
Foundation matching starts not with the lightness or darkness of your skin (the depth), but the subtle color beneath the surface (undertone). There are three main types:
A. Cool Undertones: Skin has hints of pink, red, or blue. You likely burn easily in the sun. Vein Test: Veins on your wrist appear blue or purple. Jewelry Test: Silver jewelry looks most flattering.
B. Warm Undertones: Skin has hints of yellow, gold, or peach. You likely tan easily. Vein Test: Veins on your wrist appear green or olive. Jewelry Test: Gold jewelry looks most flattering.
C. Neutral Undertones: Skin has a mix of both pink and yellow, or it’s difficult to tell. Vein Test: Veins appear both blue and green. Jewelry Test: Both gold and silver look good.
Pro-Tip for Testing: When sampling foundation, never test on your hand or wrist. The best place to find a true match is along your jawline, blending down slightly onto your neck. Swipe three potential shades and choose the one that seamlessly disappears into your skin in natural light.
Choosing the Right Formula and Coverage Level
Your skin type dictates the ideal foundation formula. Using a hydrating formula on oily skin will lead to slippage, while using a matte formula on dry skin will accentuate flakiness.
Coverage Breakdown: A. Sheer: Tinted moisturizers, BB/CC creams. Evens out minor discoloration while allowing skin texture to show through. Ideal for a “no-makeup makeup” look.
B. Medium: Liquid or cream foundations. Offers buildable coverage to conceal redness and minor blemishes. The most versatile option for daily wear.
C. Full: Thick creams or high-pigment liquids. Provides maximum coverage for hyperpigmentation, severe acne, or a heavily dramatic look. Requires careful blending to avoid a mask-like appearance.
Application Techniques: Brushes, Sponges, and Fingers
The tool you choose for application fundamentally changes the finish of your foundation. There is no single “best” method; the ideal technique depends entirely on the desired coverage and the formula being used.
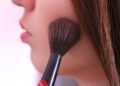
The Power of the Brush
Brushes offer precision and are excellent for building coverage and buffing the product into the skin for an airbrushed effect.
A. Flat Top Kabuki Brush: Best for: Liquid and cream foundations, and powder foundation. Technique: Use a buffing motion—small, dense circular movements—to push the product into the skin. This provides a high-coverage, seamless finish and minimizes streaks.
B. Dense Flat Brush: Best for: Full-coverage liquid or cream. Technique: Use a stippling or patting motion to press the product onto the skin, then lightly glide to smooth. The stippling motion is key to retaining maximum coverage.
C. Duo-Fiber Brush: Best for: Sheer liquids or tinted moisturizers. Technique: Use light, broad, circular strokes. The sparse fibers provide a very light application, perfect for a dewy, natural finish.
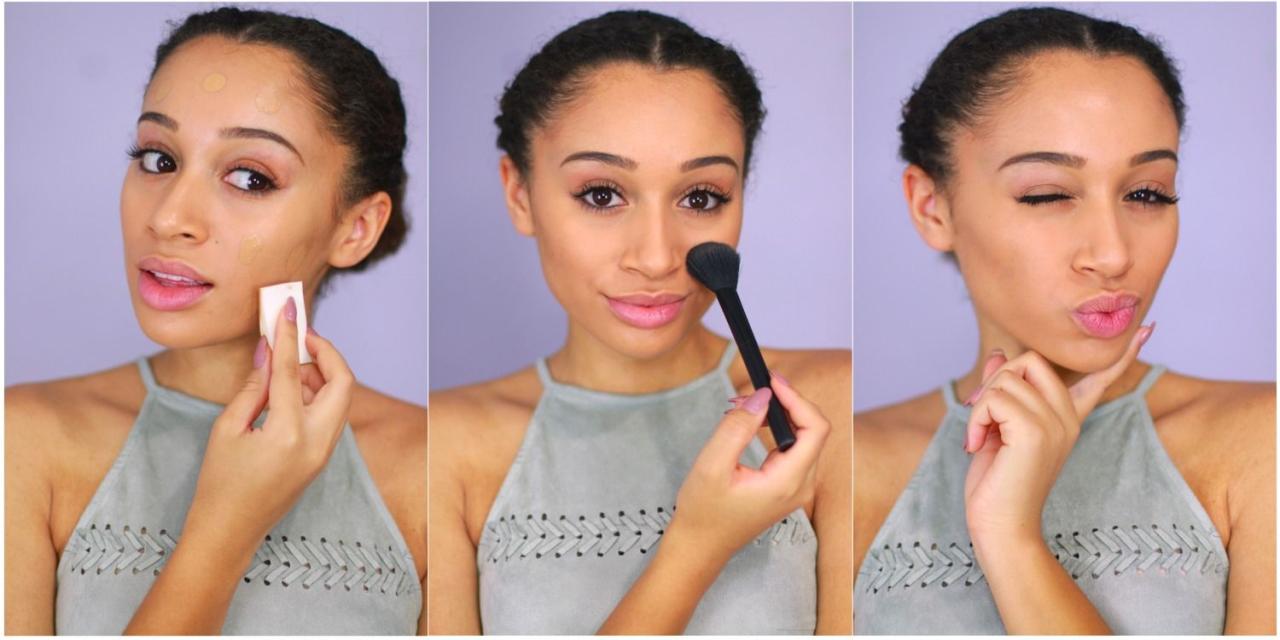
The Magic of the Sponge
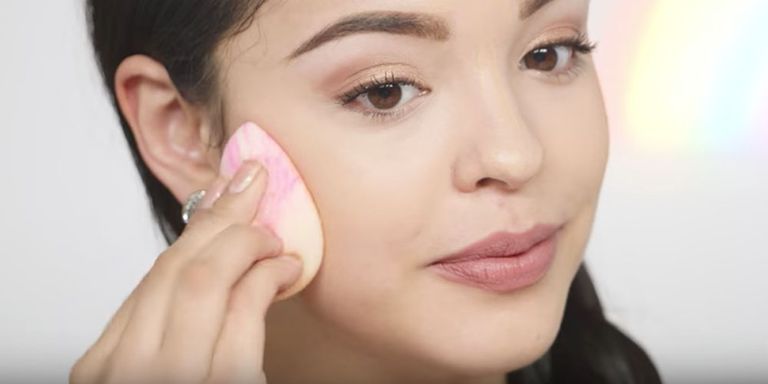
The damp beauty sponge has revolutionized foundation application, offering a natural, skin-like, airbrushed finish that is difficult to replicate.
A. Dampen Thoroughly: Soak the sponge fully under running water until it expands to its maximum size. Squeeze out all excess water using a towel or paper towel. The sponge must be damp, not wet, to prevent it from soaking up too much product or diluting your foundation.
B. Bounce, Don’t Drag: Apply foundation to the back of your hand or directly to your face, then use the damp sponge in a light bouncing or tapping motion (known as stippling or bouncing). This pressing motion melts the product into the skin, avoiding streaks and minimizing the look of pores.
C. Use the Edges: Utilize the pointed end of the sponge for precise blending around the nose, inner corners of the eyes, and mouth. The rounded bottom is best for larger areas like the forehead and cheeks.
The Original Tool: Fingers
Your fingers can be an effective, portable tool, especially for lighter formulas.
A. Warmth Activation: The warmth from your fingertips helps to melt and sheer out the product, creating a very natural, skin-like finish. This works exceptionally well with tinted moisturizers, BB creams, and sheer liquids.
B. Gentle Blending: Use a gentle patting and smoothing motion, ensuring to blend thoroughly around the hairline and jawline. Caveat: Fingers are less hygienic and can lead to uneven coverage or a thicker deposit of product compared to brushes or sponges. Always wash your hands thoroughly beforehand.
Advanced Techniques for a Sculpted, Lasting Look
Once you’ve mastered the basics, there are several advanced techniques that elevate your foundation game from great to truly spectacular.
Color Correcting: The Next-Level Conceal
Foundation is for evening out skin tone; color correctors are for neutralizing severe discoloration before foundation. Using the color wheel, you select a color opposite your concern:
A. Green: Neutralizes redness (acne, rosacea, broken capillaries). Apply only on the spots of redness, not all over.
B. Peach/Orange: Neutralizes blue/purple tones (dark circles, dark spots on medium to deep skin).
C. Yellow/Pink: Neutralizes blue/purple tones (dark circles, dullness on light skin).
Technique: Apply a minimal amount of color corrector before foundation, only on the area of concern. Blend out the edges, then apply foundation on top. The foundation should effectively cover the color corrector.
Layering and Spot Concealing
Instead of applying a thick layer of high-coverage foundation all over, focus on building coverage where you need it most.
A. Start Light: Begin with a light layer of medium-coverage foundation across your face. Blend thoroughly.
B. Target Imperfections: Use a small, dense brush or the tip of a damp sponge to apply a full-coverage concealer only to spots that still show through—blemishes, residual dark circles, or scars.
C. Gentle Pressing: Tap and press the concealer onto the area. Do not rub. The goal is to gently tap the pigment to cover without lifting the foundation underneath.
The Art of Underpainting
Underpainting is a pro technique that involves applying contour and blush under your foundation or before your final powder application.
A. Cream Products First: Apply your cream contour and cream blush before applying your foundation.
B. Sheer Layer Over Top: Use a damp sponge to lightly bounce your foundation over the pre-applied contour and blush.
C. Result: The color of the contour and blush subtly peeks through the foundation layer, creating a hyper-natural, seamless, sculpted look that looks like the color is coming from within your skin.
Setting and Longevity: Locking in the Flawlessness
A stunning foundation base is useless if it melts away within a few hours. Proper setting is non-negotiable for longevity and a truly flawless finish.
Selecting the Right Setting Powder
Setting powder locks liquid and cream products in place, absorbs excess oil, and blurs imperfections.
A. Loose Setting Powder: Best for: Setting the entire face, especially the T-zone. Provides the lightest, most airbrushed finish, but can be messy.
B. Pressed Setting Powder: Best for: Touch-ups on the go and targeted setting. Convenient, but can look heavier if over-applied.
Application Techniques for a Budge-Proof Base
A. The Roll and Press: Using a fluffy brush or a powder puff, take a small amount of powder, tap off the excess, and press or roll it gently over the foundation. Never sweep or rub, as this will disturb the liquid foundation underneath.
B. Baking: An intensive technique for oily skin or under-eyes. Apply a thick layer of loose powder to the areas you want to brighten and set (under-eyes, T-zone) and let it “bake” for 3-5 minutes. Then, lightly sweep away the excess with a clean brush. This is perfect for high-coverage looks and hot climates.
C. Targeted Setting: For dry or mature skin, avoid setting the entire face. Only apply powder sparingly to the T-zone to control shine, leaving the perimeter of the face dewy and natural.
The Final Seal: Setting Spray
A setting spray is the ultimate final step. It melts the layers of powder and liquid together, making the makeup look more skin-like, and contains polymers that lock the makeup in place, ensuring up to 16 hours of wear time.
A. Hydrating/Dewy Sprays: Best for dry skin, adding radiance and taking away any powdery finish.
B. Oil-Control/Matte Sprays: Best for oily skin, creating a waterproof, smudge-proof barrier.
C. Application: Hold the bottle 8-10 inches from your face and spray in an X and T motion (four corners and the center) to ensure even saturation. Allow it to air dry fully.
Common Foundation Mistakes and How to Fix Them
Even with the best products, mistakes happen. Knowing how to troubleshoot is a key pro secret.
A. Mistake: Cakey or Heavy Foundation: * Fix: You used too much product. Use a damp sponge or a spritz of setting spray on a dense brush and gently pat the affected area to thin out the layer and press it into the skin.
B. Mistake: Foundation Clinging to Dry Patches: * Fix: Your skin wasn’t prepped adequately. Use a cotton swab dipped in moisturizer or face oil to gently dot and massage the product onto the flaky area, blending the edges. Prevent this by exfoliating and hydrating before application.
C. Mistake: Foundation Settling into Fine Lines: * Fix: You applied too much product in the area and/or did not set it properly. Before applying powder, use a finger or sponge to gently dab the area, smoothing out the product that has gathered in the crease. Then, immediately set with a tiny amount of loose powder using a powder puff.
D. Mistake: Oxidization (Foundation Darkens): * Fix: Foundation is reacting with your skin’s oils or pH. Try an oil-control primer underneath, or switch to a formula known for its color-stay technology. You may need to purchase a shade slightly lighter than your perfect match to account for the oxidization.
Conclusion
Mastering the flawless foundation base is a journey of practice, not a sprint. It begins with meticulous skincare, moves through informed product selection—knowing your undertone and skin type—and culminates with strategic, layered application and proper setting. By incorporating these pro secrets—from the power of primer and the bounce of a damp sponge to the precision of color correction and the final seal of a setting spray—you can move past the fear of patchiness and caking.
A perfect base is not about looking like you have no skin texture, but about achieving a refined, perfected canvas that looks like the best version of your own skin. Invest time in your prep, trust your tools, and you will unlock the lasting confidence that comes with a truly impeccable finish.